
Starting a creative craft project is easier than many people think. With a simple setup and a bit of patience, anyone can create colorful pixel-style artwork at home. A Perler beads kit DIY style project is one of the most beginner-friendly ways to explore handmade crafts, especially when using a well-prepared UKENN diy fuse beads kit.
What Is a Fuse Beads Kit?
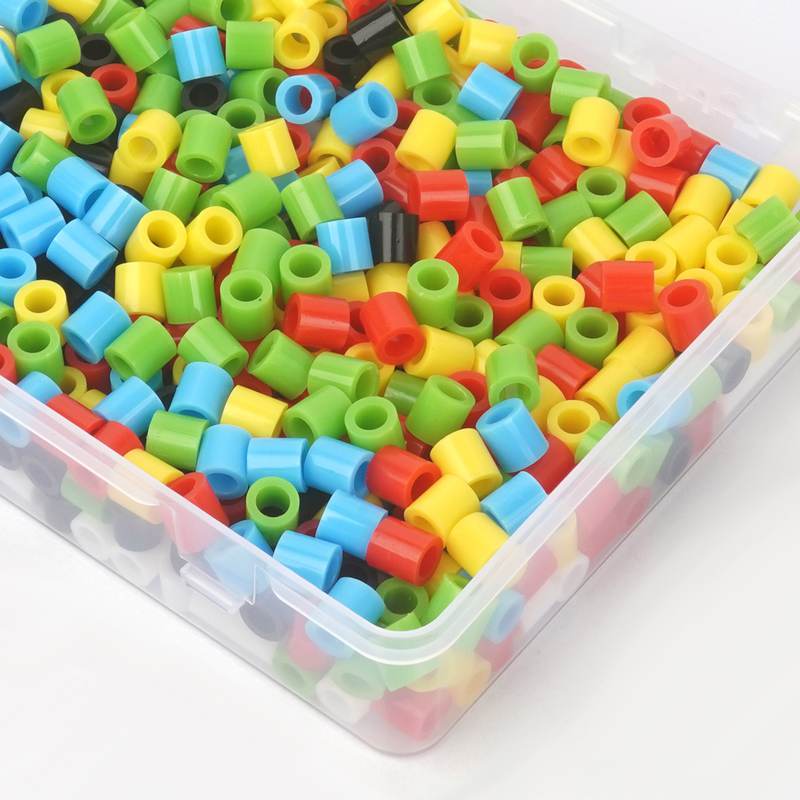
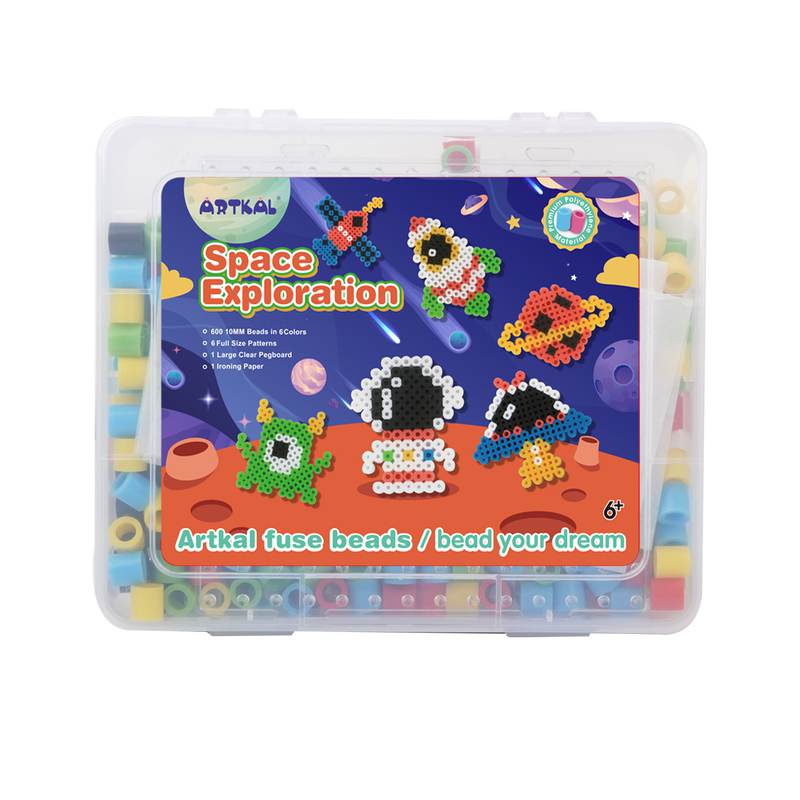
A fuse beads kit is a DIY craft set that includes small plastic beads, a pegboard, and ironing paper. You arrange the beads into a pattern, then use heat to fuse them together into a solid design. Compared with other crafts, a fuse bead kit DIY project is simple but highly creative. It allows you to turn pixel-style designs into real physical artwork, such as keychains, coasters, or decorative pieces.
Why Choose a Pixel Art Fuse Beads Kit?
A pixel art fuse beads kit is especially popular because it combines creativity with structure. Each bead represents a “pixel,” making it easy to design characters, icons, or patterns.
Benefits include:
- Easy for beginners to start
- Suitable for kids and adults
- Endless design possibilities
- Relaxing and stress-free activity
UKENN provides a well-balanced diy fuse beads kit designed to help beginners start smoothly without confusion.
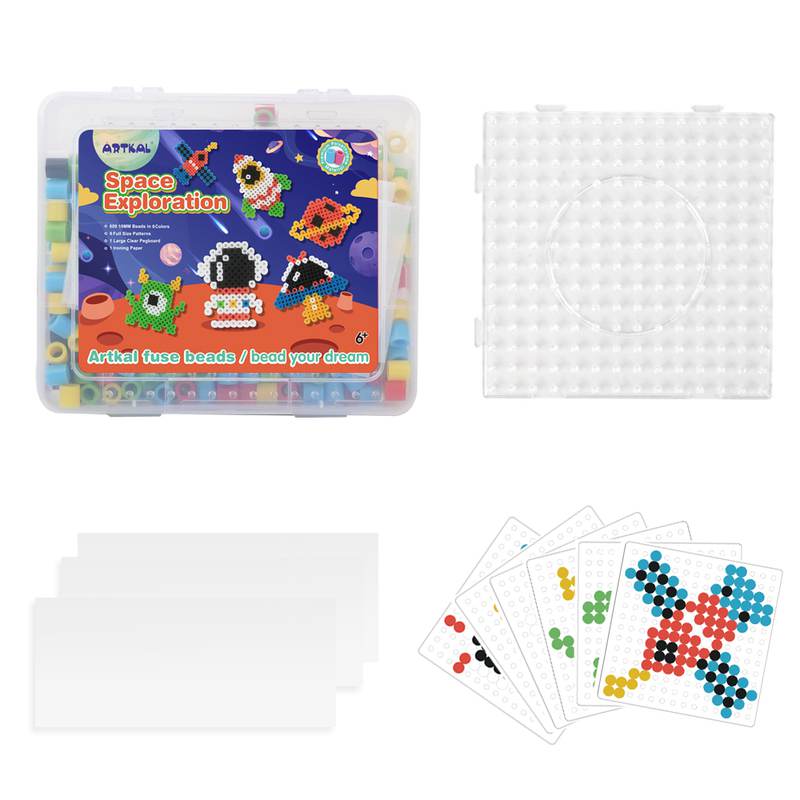
What’s Inside a UKENN DIY Fuse Beads Kit?
A standard fuse beads kit from UKENN usually includes:
- Assorted colored beads
- Pegboards for pattern building
- Ironing paper for heat fusion
- Design templates (optional)
- Storage box for organization
Having a complete fuse bead kit DIY set makes your first project much easier and more enjoyable.
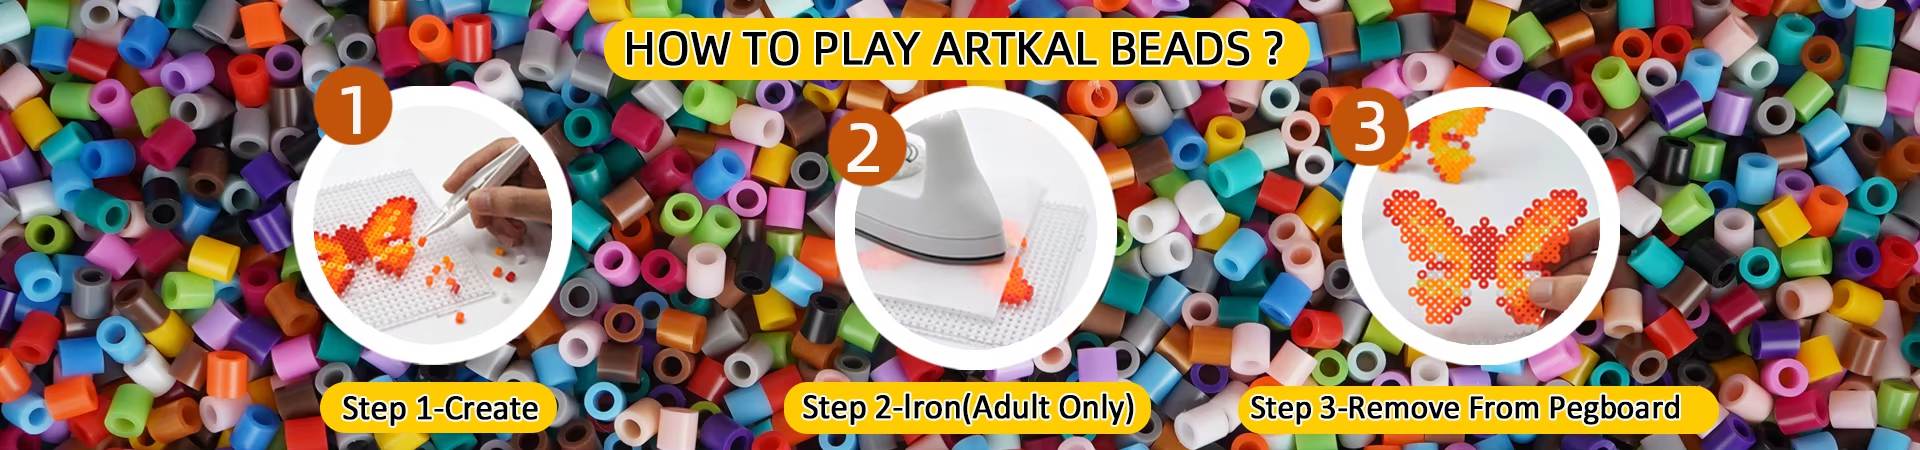
Step-by-Step: How to Start Your First Project
1️⃣ Choose a Simple Design
Start with basic shapes like hearts, stars, or smiley faces. A simple pattern helps you understand how beads align and fuse.
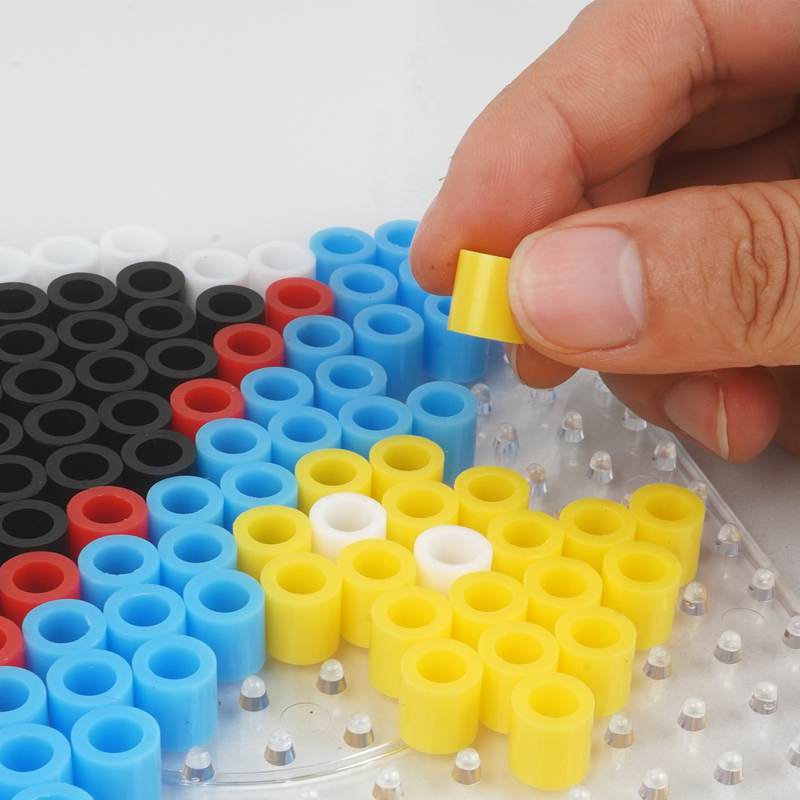
2️⃣ Place the Beads on the Board
Using your pixel art fuse beads kit, carefully place each bead according to your design. Take your time to avoid mistakes.
3️⃣ Prepare for Ironing
Cover your design with ironing paper. This protects the beads while heating.
4️⃣ Fuse the Beads
Gently iron the surface until the beads begin to melt and stick together. Make sure the heat is even.
5️⃣ Cool and Finish
Let your artwork cool completely before removing it from the pegboard. This ensures it stays strong and stable.
Beginner Tips for Better Results
When using a diy fuse beads kit, a few simple tips can improve your final result:
- Start with small designs first
- Sort colors before starting
- Avoid overheating while ironing
- Use tweezers for precision work
These small habits make a big difference in the quality of your finished piece.
Why Beginners Love Fuse Bead Kit DIY Projects
Many people choose fuse bead kit DIY crafts because they are relaxing, affordable, and easy to learn. There is no pressure, and the results are always satisfying. With UKENN’s diy fuse beads kit, beginners can quickly complete their first pixel art project and gradually move on to more advanced designs.
Final Thoughts
Starting your first project with a Perler beads kit DIY is a fun and creative experience. With a complete fuse beads kit, a simple design, and a bit of patience, anyone can create beautiful pixel-style artwork. Whether you are crafting for fun, gifts, or personal decoration, a pixel art fuse beads kit from UKENN is a great way to begin your creative journey.