
Perler beads, also known as fuse beads or iron beads, are small, colorful plastic beads that can be arranged on a pegboard to create intricate designs. The process of creating perler bead patterns is not only a fun and relaxing craft but also a great way to express your creativity. This guide will walk you through the steps to make perler bead patterns and turn your perler bead ideas into stunning perler bead art.
Basic Steps to Create Perler Bead Patterns
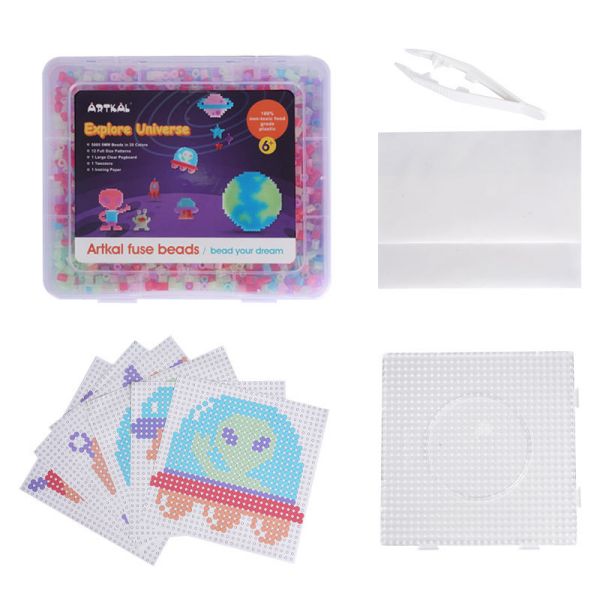
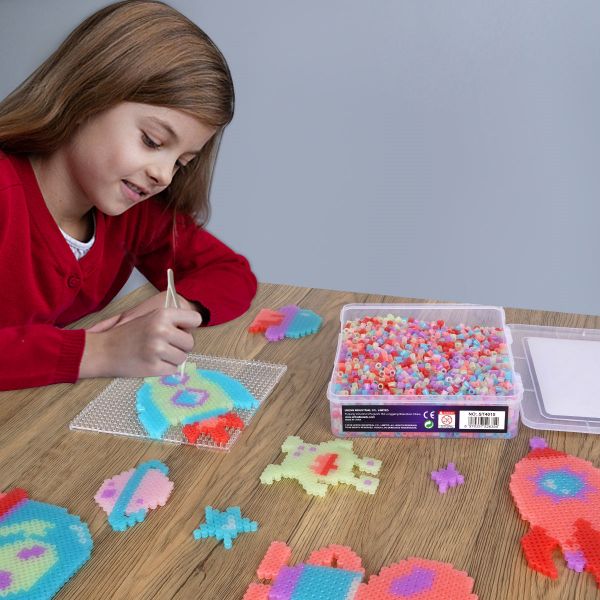
- Setting Up Your Workspace: Choose a clean, flat surface with ample lighting. Lay out your beads, pegboard, and tools within easy reach.
- Choosing a Design or Creating Your Own: Beginners might start with simple patterns found online or in Perler bead kits. As you gain confidence, try designing your own patterns on graph paper or using digital tools.
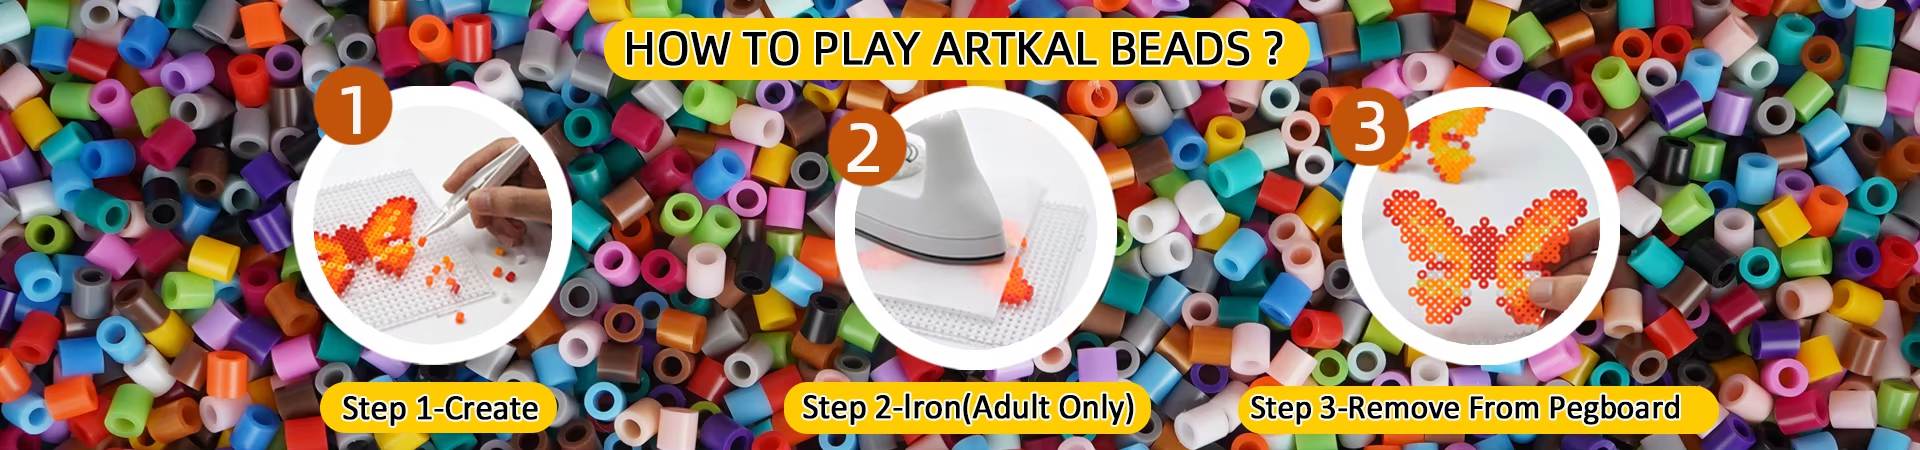
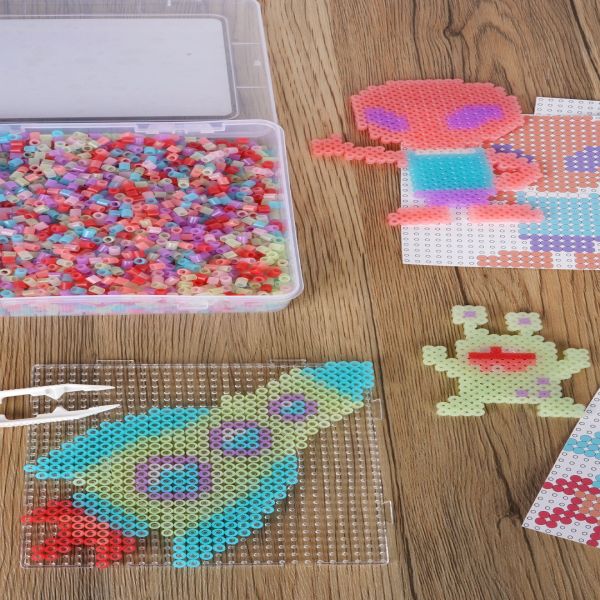
- Arranging the Beads on a Pegboard: Start placing fuse beads on the pegboard according to your chosen design. Use tweezers for precise placement, especially for intricate patterns.
Advanced Techniques and Tips
- Using Templates and Online Resources: There are countless templates available online for free. Websites like Pinterest and crafting blogs are excellent sources for inspiration and patterns.
- Creating Intricate Designs with Layering: To add depth and detail, consider layering beads. This technique can create a 3D effect or add complexity to your designs.
- Tips for Precise Bead Placement: Keep your work area organized, and sort beads by color beforehand. This makes it easier to find the beads you need and reduces mistakes.
Inspiration and Ideas
Explore a variety of Perler bead designs to find inspiration for your projects:
- Popular Themes and Designs: Create designs based on video game characters, cartoon figures, animals, or abstract shapes.
- Seasonal and Holiday Patterns: Make festive decorations for holidays like Christmas, Halloween, or Easter.
- Customizing Designs for Personal Projects: Personalize your creations by adding names, dates, or unique color combinations.
Finishing Your Perler Bead Art
- Ironing Techniques for Different Effects: Cover your design with ironing paper and heat with an iron set to medium heat. Iron in a circular motion for even melting. Adjust the ironing time for a fused or slightly separated look.
- Assembling Multi-Part Projects: Some complex designs may require creating separate parts and assembling them after ironing. Use strong glue to hold pieces together.
- Displaying and Preserving Your Artwork: Frame your designs, turn them into keychains, or use them as coasters. Store unused beads in airtight containers to keep them organized and dust-free.
In summary, making perler bead patterns is a rewarding and enjoyable craft that allows you to unleash your imagination and create unique pieces of perler bead art. By following these steps and using your perler bead ideas, you can create beautiful designs that showcase your artistic flair. Happy beading!