
Perler beads, also known as mini perler beads, are tiny plastic beads that can be arranged and fused together to create colorful designs. They are a popular craft activity for kids and adults alike, and there are endless possibilities for what you can create with them. If you're new to working with perler beads, or if you're looking for some tips to take your perler bead projects to the next level, you've come to the right place. In this article, we'll cover everything you need to know about working with mini perler beads, including how to iron them perfectly to create beautiful, long-lasting designs.
1. Choosing the Right Materials
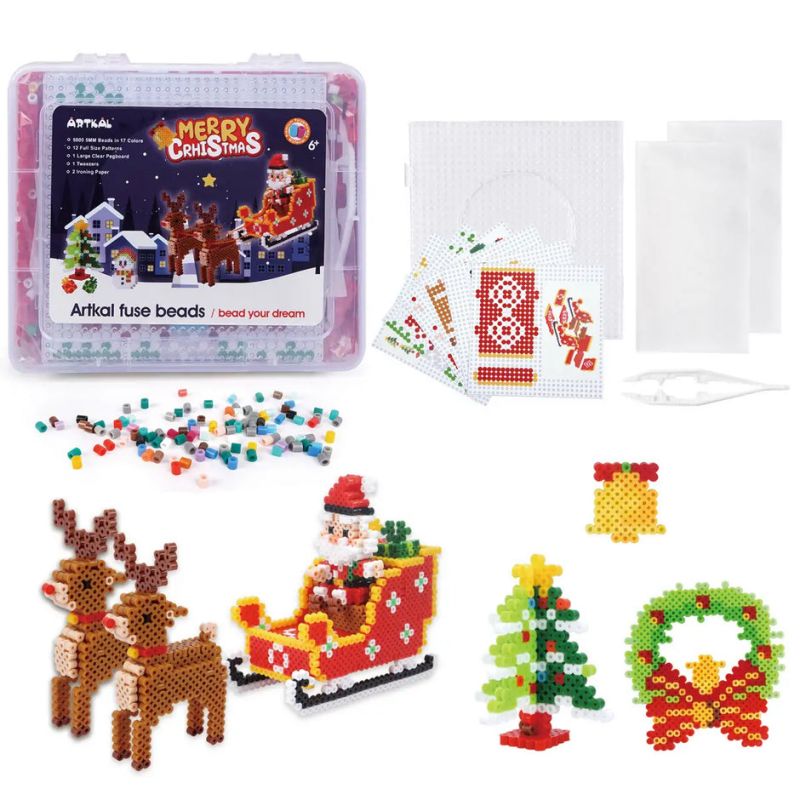
Before we get into the nitty-gritty of ironing perler beads, it's important to start with the right materials. To get started with mini perler beads, you'll need a perler bead kit, which typically includes a variety of colored beads, a pegboard to arrange the beads on, and ironing paper to fuse the beads together. You can find perler bead kits at most craft stores or online, and they come in a range of sizes and themes to suit your interests.In addition to a perler bead kit, you may also want to invest in some additional tools to make working with mini perler beads easier and more enjoyable. Tweezers can be helpful for picking up and placing individual beads, while a bead organizer can help keep your workspace tidy and make it easier to find the colors you need.
2. Creating Small Perler Bead Ideas
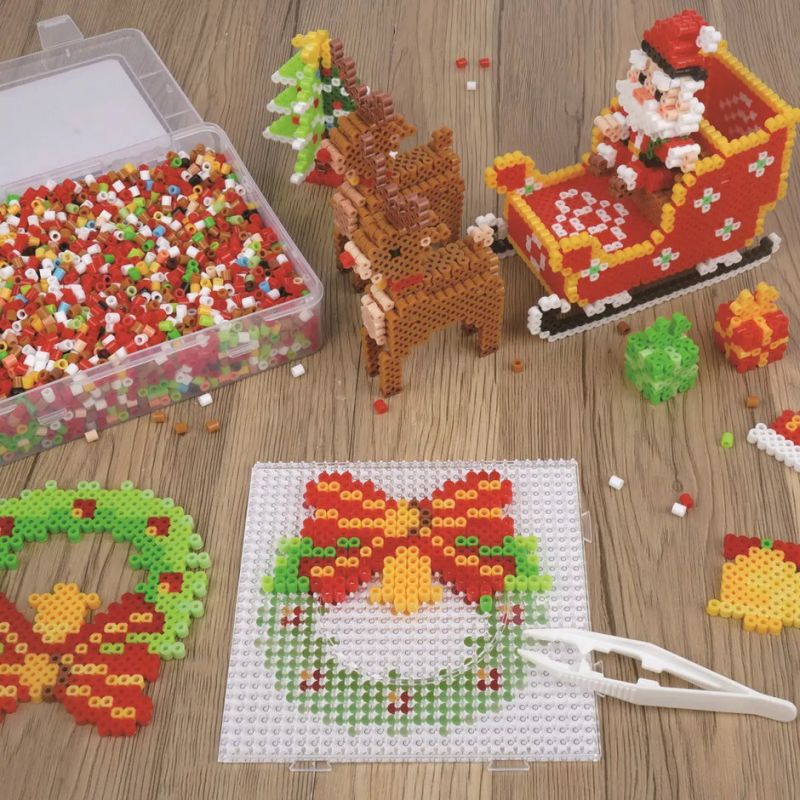
Once you have your materials, it's time to start creating! Mini perler beads are perfect for creating small, intricate designs, so don't be afraid to get creative and experiment with different patterns and shapes. Some popular small perler bead ideas include mini versions of larger designs, such as animals, flowers, or geometric patterns. You can also use mini perler beads to create jewelry, keychains, or other small accessories.When working with mini perler beads, it's important to keep in mind that the smaller size means that your designs will require more precision and patience. Take your time when arranging the beads on the pegboard, and don't be afraid to make adjustments as needed to ensure that your design turns out just the way you want it.
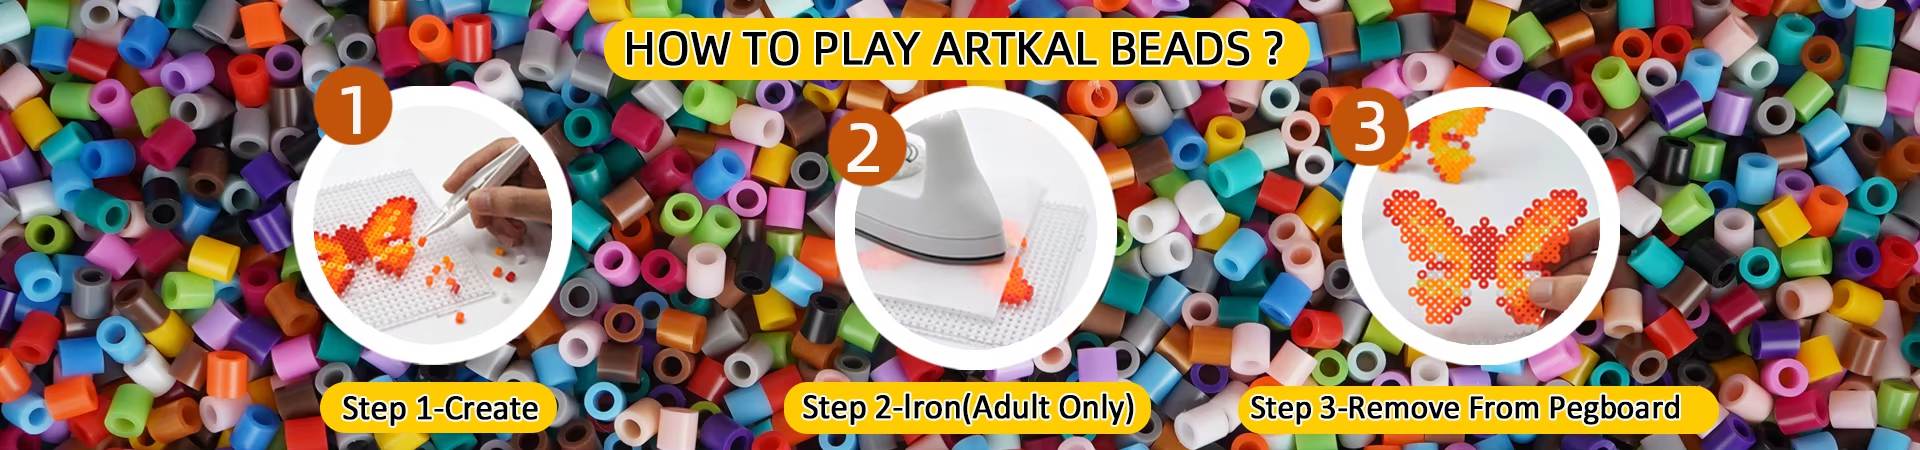
3. Ironing Perler Beads Perfectly
After you've finished arranging your mini perler beads into a design you're happy with, it's time to fuse them together using an iron. This is an important step in the perler bead process, as it ensures that your design will hold together and remain intact over time.To iron perler beads perfectly, start by placing a sheet of ironing paper over your design. Then, set your iron to a medium heat setting and slowly move it in a circular motion over the ironing paper for about 10-20 seconds. Keep a close eye on the beads as you iron them – you'll know they're ready when the holes in the center of the beads start to close up.Once you've ironed one side of your design, carefully flip it over and repeat the process on the other side. This will ensure that your design is fully fused together and will be able to withstand handling and display without falling apart.
4. Tips for Success
To ensure that your mini perler bead designs turn out perfectly every time, here are a few tips to keep in mind:
- Use even pressure when ironing to ensure that all of the beads fuse together evenly.
- Avoid holding the iron in one place for too long, as this can cause the beads to melt unevenly.
- If you're working on a particularly large or intricate design, wga vape consider ironing it in sections to ensure that each part fuses together properly.
- Once your design has cooled completely, carefully remove it from the pegboard and trim any excess ironing paper from around the edges.
With these tips in mind, you'll be well on your way to creating beautiful, long-lasting designs with mini perler beads. Whether you're a seasoned perler bead enthusiast or just getting started with this fun and versatile craft, there's no limit to what you can create with mini perler beads. So gather your materials, let your creativity run wild, and start making some mini perler bead magic today!